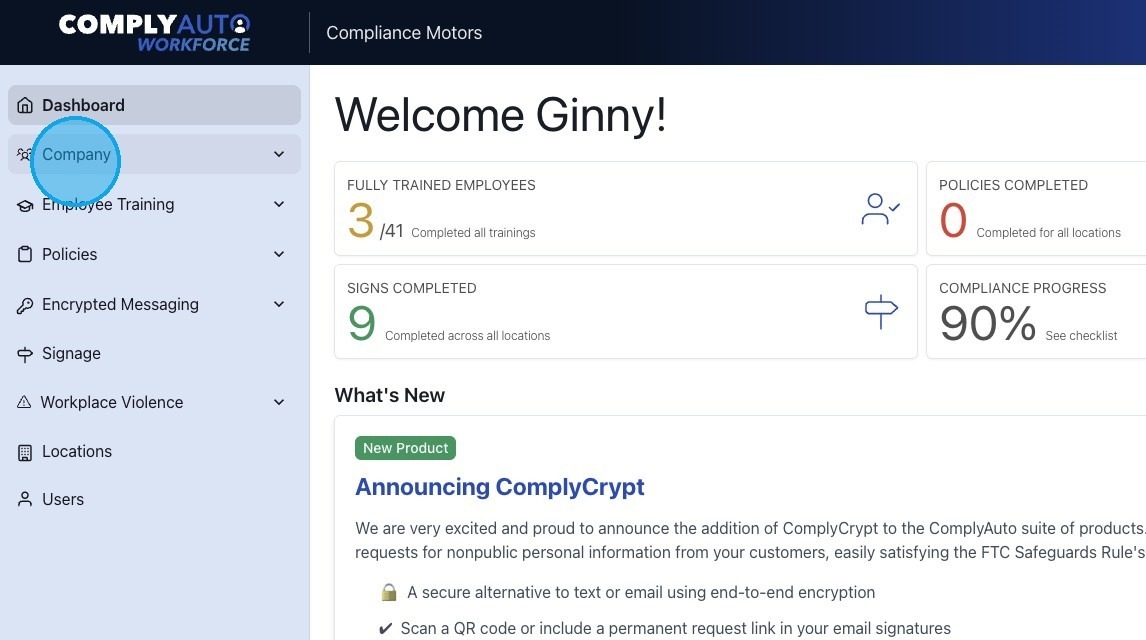
1. Navigate to your Workforce dashboard and click "Company."
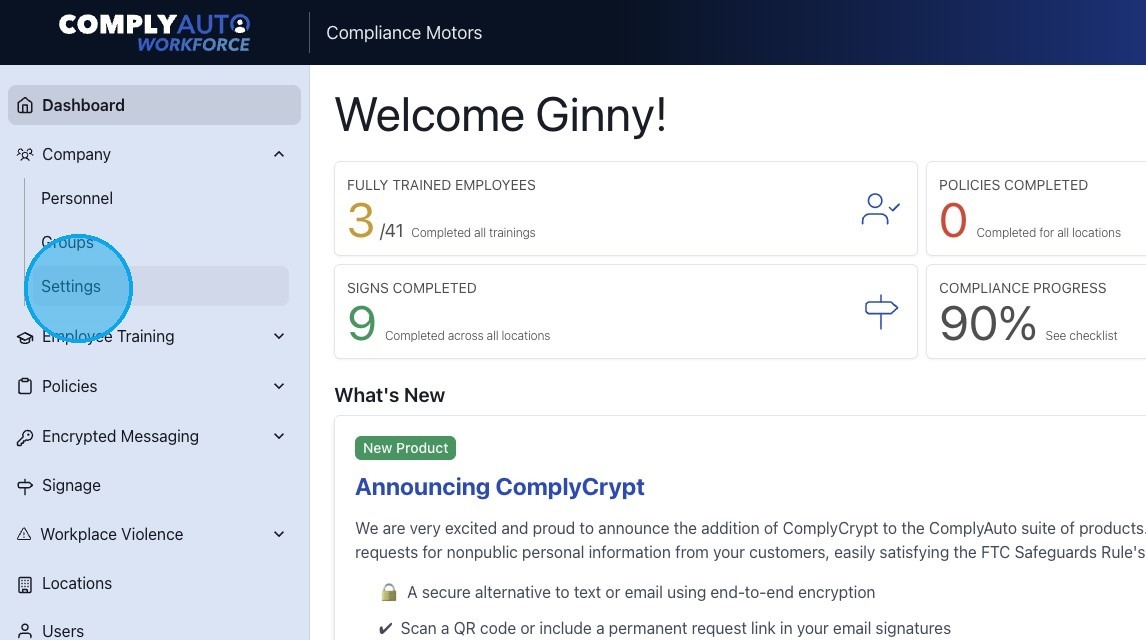
2. Click "Settings."
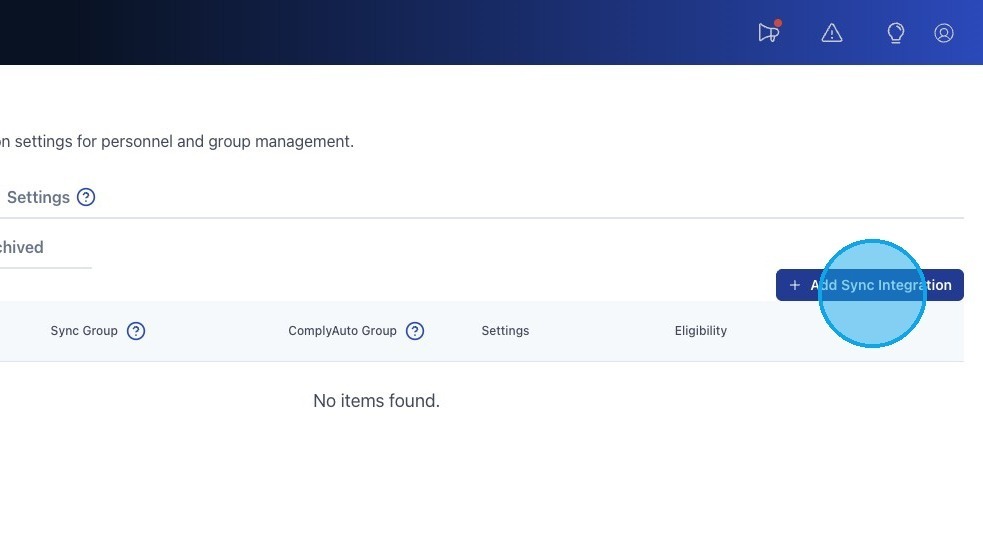
3. Click "Add Sync Integration."
4. Select either "All Employees" or "Specific Group."
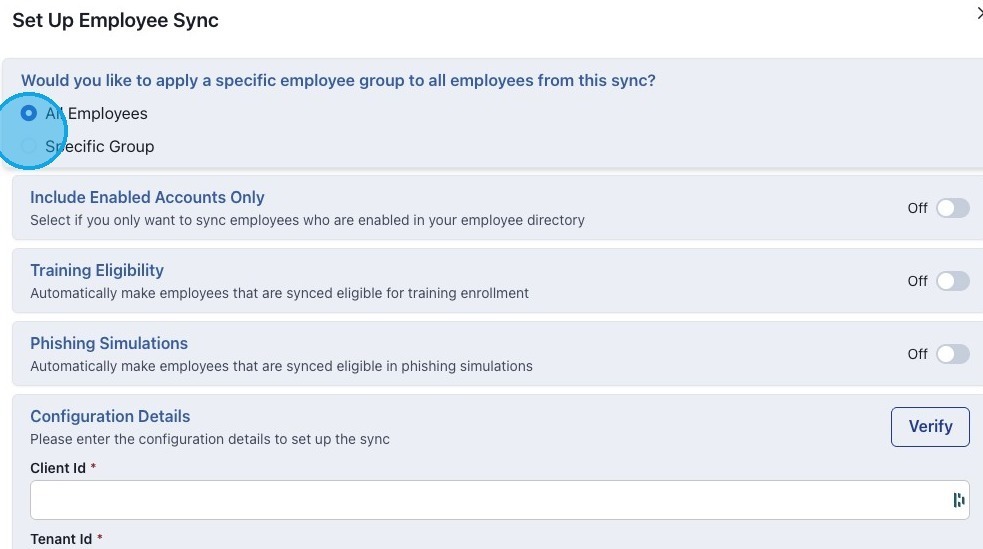
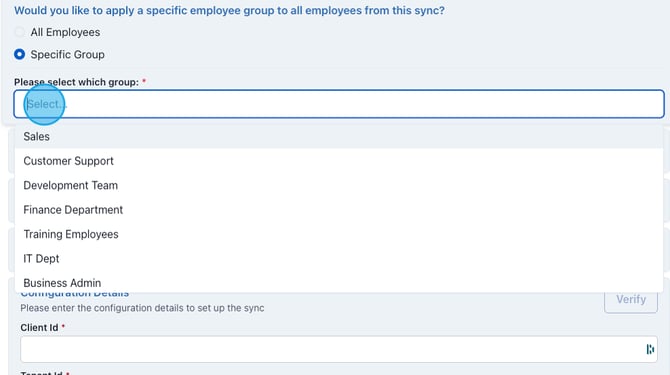
5. If you select "Specific Group," choose from the drop-down list which group.
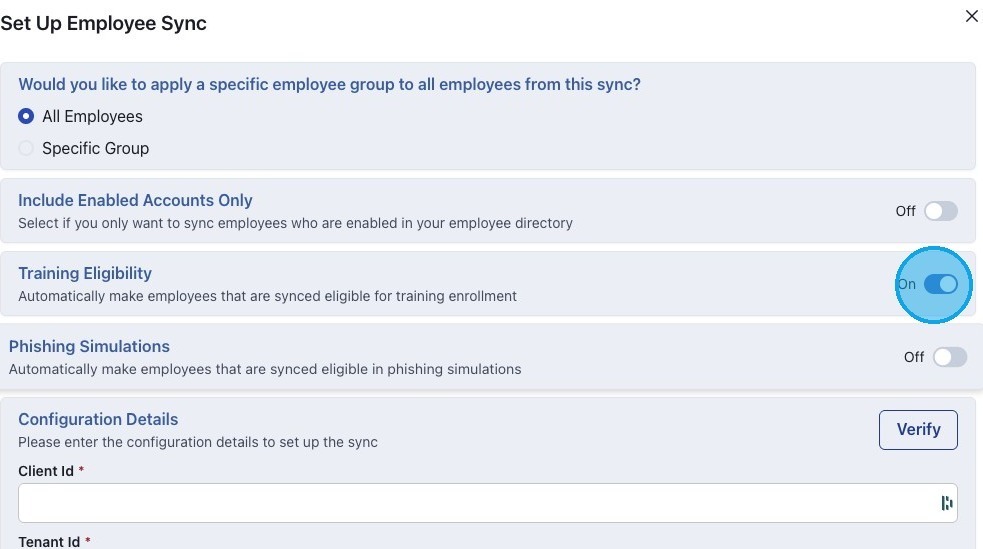
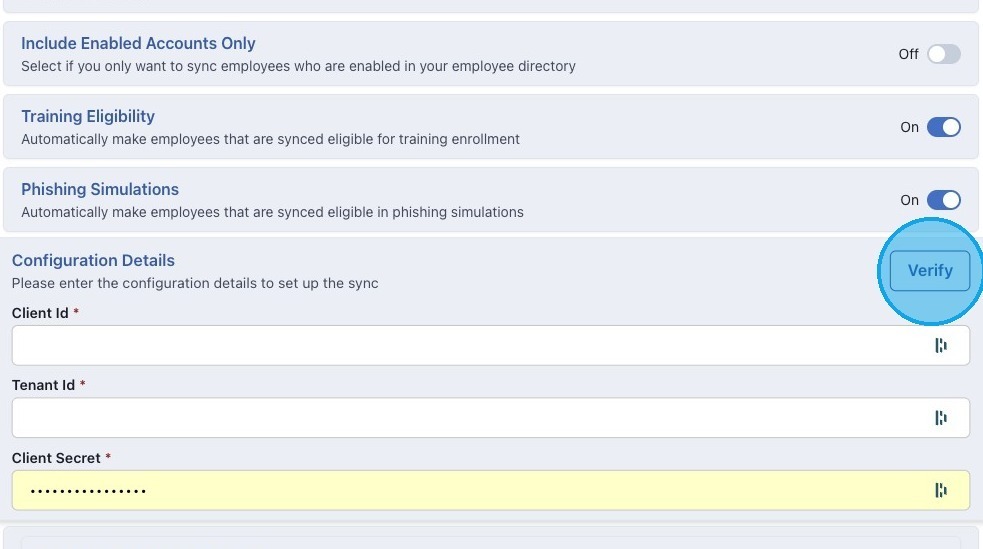
6. Choose to turn on enabled accounts only if you would like.

7. Click "Yes" to make employees eligible for training.
8. Click "Yes" to make employees eligible for phishing.
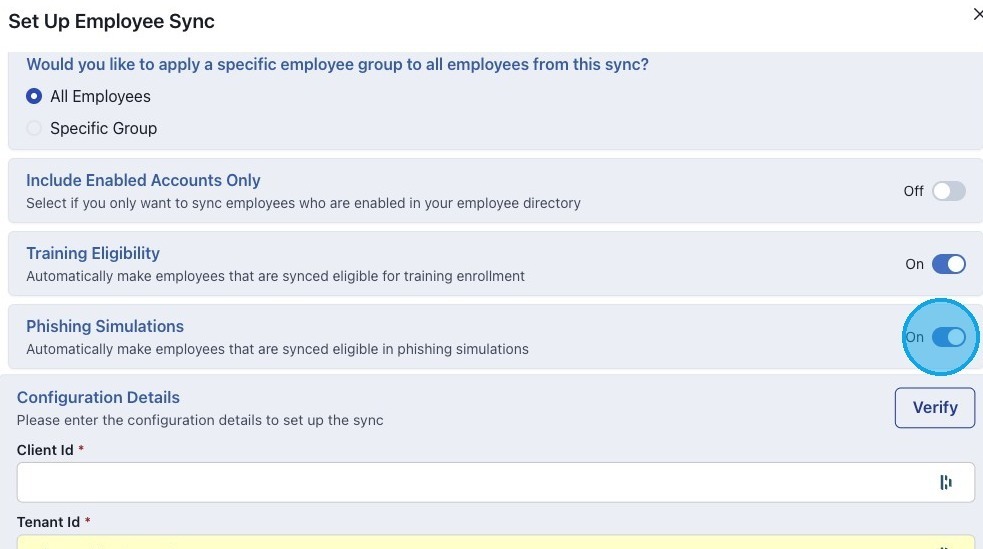
Alert! Employees must have company emails to be eligible for phishing.
9. Add the integration configuration details from your AD. Copy and paste the Application (Client) Id, Directory (Tenant) Id, and the Client Secret.
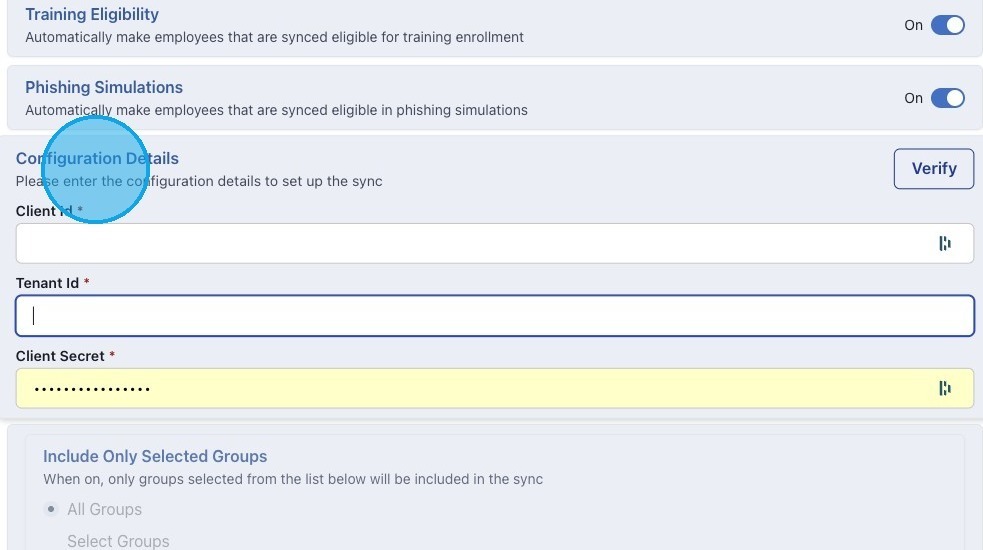
10. Click "Verify" to test that the sync information is correct.
If an error occurs with the test, then some detail is wrong and you need to double check the details with the qualified individual.
Alert! The "Client Secret" is sometimes confused with the Client ID. To sync Azure AD with Workforce, you need the value not the ID. The value does not have dashes but rather uses tildas (~).
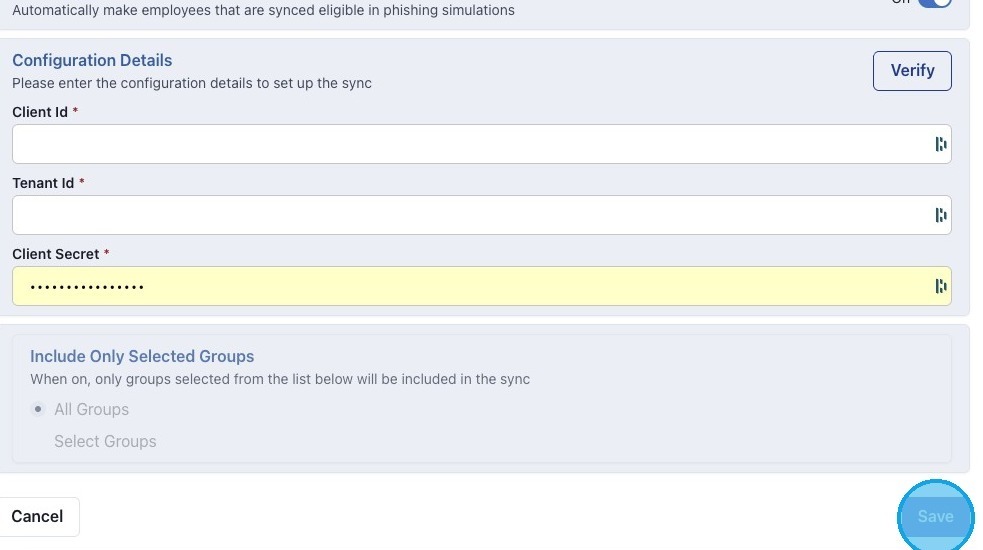
11. If the verification is successful, click "Save."
Tip! Employees will not pull from your AD into Workforce right away. Wait 24 hours and then check back to ensure the sync worked.
12. Once the integration is set up, you will find it under "Settings." On the right-hand side, you can edit or run the sync.
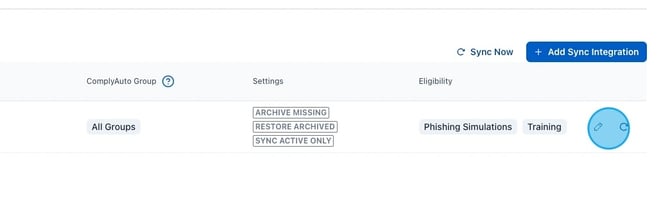
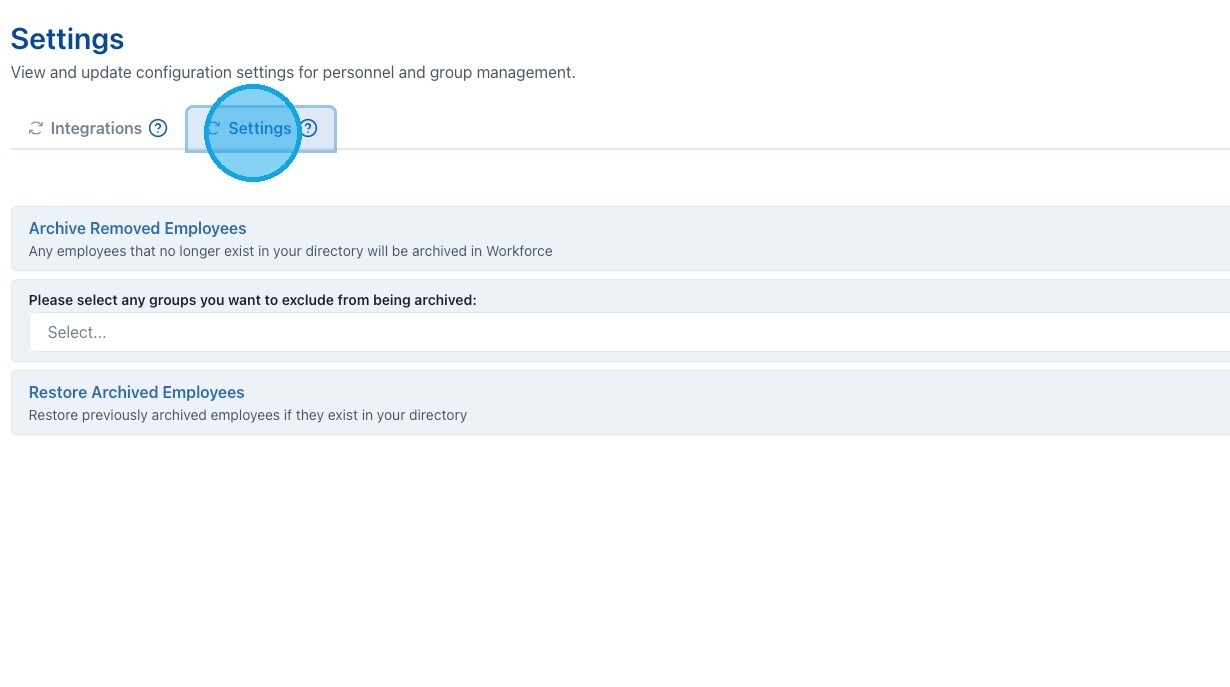
13. Click "Settings" to quickly adjust archive and restoration settings.